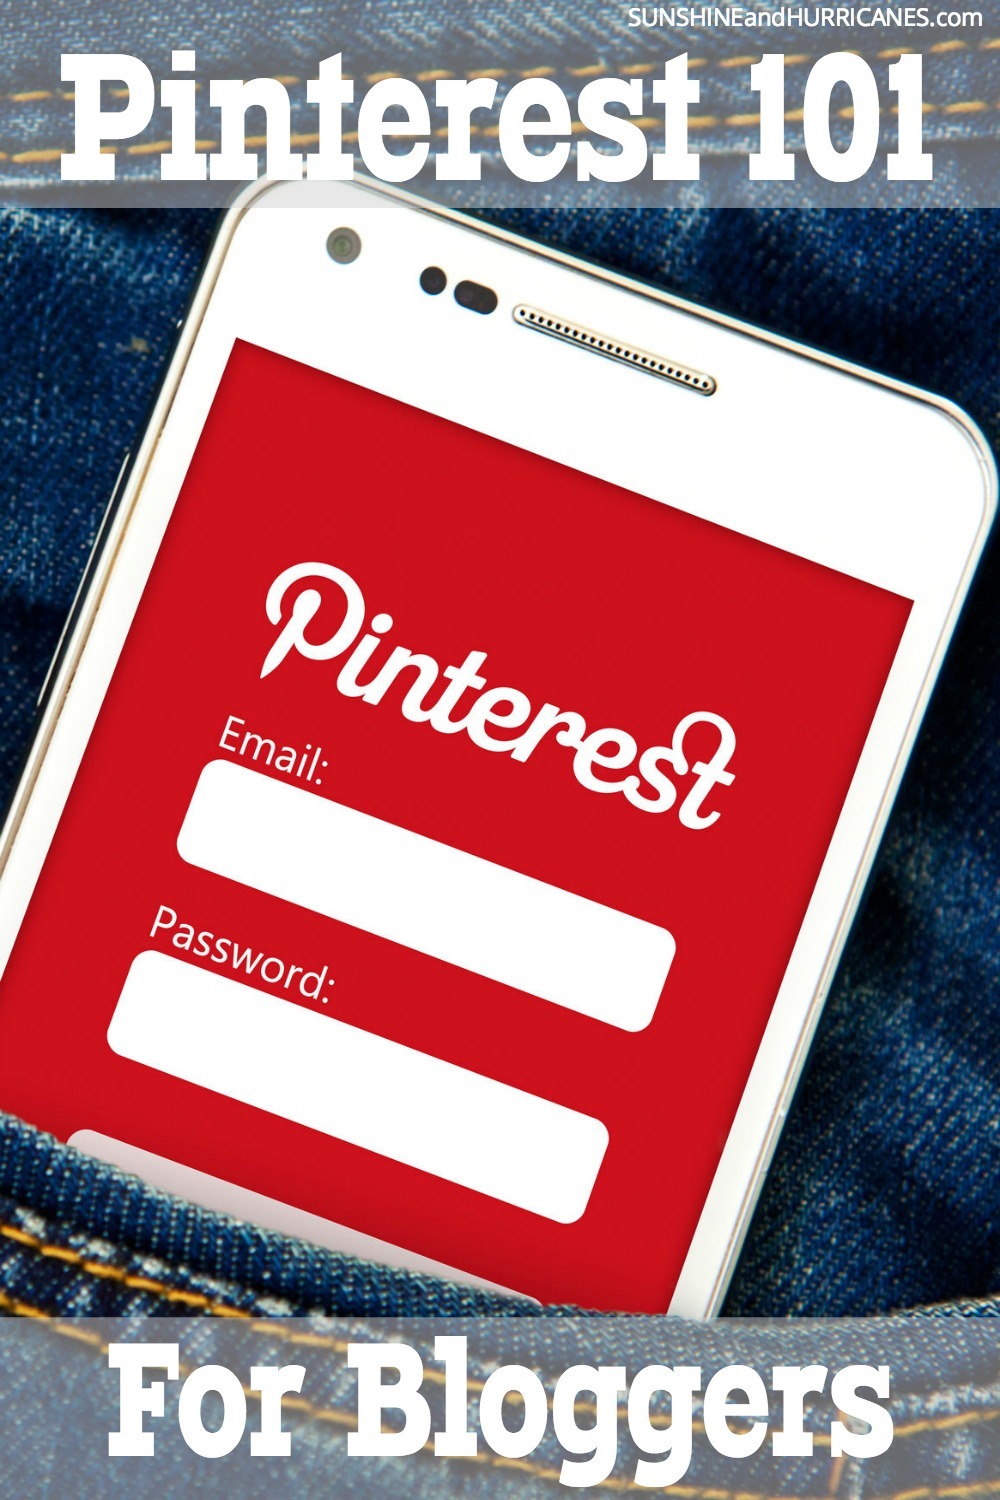
Sunshine and Hurricanes

Smart Parenting with Purpose

  • Mom Life
  • Young Kids
  • Tweens & Teens
  • Technology
    • Apps for Kids – The Ultimate Guide
    • Safety
  • Family Resources
    • Recipes
      • Meal Plans
      • Snacks
      • Dessert
      • Holiday Recipes
    • Travel
      • Florida
      • Disney
    • Savings
      • Monthly Best Buys
    • Holidays
  • Gift Guides
  • About S & H
    • Contact Sunshine and Hurricanes
    • Disclosure Policy
  • Shop

Pinterest 101

By Kira Lewis Leave a Comment

  • Facebook
  • Twitter
Are you a blogger/writer who wants to improve your presence on Pinterest? Maybe you are still unsure if Pinterest is a worthwhile investment of your time. Or maybe you’ve already put a lot of time into it, but you’re not seeing the results you’ve expected.
Are you a blogger/writer who wants to improve your presence on Pinterest? Maybe you are still unsure if Pinterest is a worthwhile investment of your time. Or maybe you've already put a lot of time into it, but you're not seeing the results you've expected.
I know many people who avoid Pinterest, because it feels overwhelming, or like it isn’t a good fit for their niche or because they simply think they couldn’t possible get noticed with all the content that seems to flow through Pinterest on an hourly basis.
I will tell you right now, Pinterest CAN work for just about any niche and it doesn’t have to be overwhelming. It can drive thousands upon thousands of views to your blog, business, writing, whatever…every.single.day.
If you want me tell you it’s going to easy, I can’t do that. Anything worth doing is never easy. However, it doesn’t have to be soul crushing and once you’ve got some basics down, it really just becomes a matter of consistent execution paired with a little bit of organization.
So, I’m going to walk you through what I would consider almost a PINTEREST 101 course. It will at least get you to a good starting place and hopefully help you begin to see the value that Pinterest has to offer.
Okay, let’s get started.

Pinterest 101

1. Have GREAT Content

I’m really not going to go in-depth on this one, because I’m going to assume you’re wanting to expand your presence on Pinterest, because you are already creating knock their socks off content and you just want it to be seen by more people.
However, if you get through the rest of this post, and you’re saying “but, I’ve done that and I’ve done that too.” Well, then, maybe you need to go back and spend some time on that knock your socks off part.

2. Setting Up Your Pinterest Page

You most likely already have some kind of Pinterest page started, but you may be missing a few essential elements.  These would include:
A. Establishing yourself as a business page
B. Applying for rich pins
You can’t do B without A. There are also lots of other reasons it’s a good idea, but this is a 101 course and we’re just trying to get you to the end game. So trust me and go do it. Log into your Pinterest account and go to the Pinterest for Business section. Find the big red button for changing your personal account to a business account and follow the prompts. It’s easy. It’s quick. It’s painless. I Promise.

3. Applying for Rich Pins

Now that you’ve got that taken care of, the next step is setting up rich pins. You want rich pins, because they make sure whatever you’ve designated your business name to be shows up on all your pins. It also ensures that your pins are seen in high quality resolution. Pinterest has a step by step process to guide you through it HERE, but it does require some meta tags. If you have a developer or anyone you’ve worked with to set up your blog, they can help and it doesn’t take long. It’s worth to make sure it is right,  even if you have to pay them a little bit for their time.

4. Making Pinnable Images

Size

EVERY post you write should be accompanied by a Pinterest image. This is a long vertical pin that is 1000 x 1500.  Yes, that’s a BIG picture. You can look and find smaller sizes that will still work, but this is what was suggested to us and we’ve done well with it. So, we’re sticking by the sizing!

P.S. Although this has nothing to do with Pinterest, also make sure you are making separate images for Facebook and your featured image. The featured size will depend on what platform you are using for your blog and theme, but FB is standard. The suggested size is 1200 x 627. I can’t tell you how many times I’ve gone to share something on social media to try and help promote another blogger and they have a totally wonky FB image and I end up not sharing their stuff as a result.

Images

If you take high quality photos that are able to really reflect the tone and emotion of your post, then feel free to use your own images. BUT they really need to be good. If you think you aren’t objective ask someone who you know will tell you the truth. Pinterest is a visual medium and pins that have high visual appeal are what do really well. They reader needs to truly connect with the image in some way.

If you don’t think your own photos are up to snuff than you have two choices:

– You can use FREE stock photos available on a number of different sites, but you are limited to what they provide. Pixabay is one of the more popular of these sites, but doing a simple Google search on free stock photos will provide countless other options. You can also try the creative commons at Flickr, but be sure you are adhering to the specifications of the photo owner.

OR

– You can buy stock photos, which is what Michelle and I do when we don’t use our own images. My preferred site is 123RF, because I like it’s search function and prices are not out of control. Plus, they have tons of family oriented images that fit our site personality. Many other bloggers like Dollar Photo Club, but they appear to have stopped taking new members and are now referring people to an Adobe Stock Photo site, but it looks kind of pricey. Again, Google can be your friend here.

Tools
The two most common tools people use for designing their pinnable images are PicMonkey and Canva.  They are both very easy to use and either FREE or charge a small monthly or yearly fee for a few upgrades. There are also great tutorials if you need help learning the basics of how they work.
The tools available at these editing sites allow  you to size your images, improve their brightness, overlay text and even apply some photos effects (don’t go too crazy).  One of my favorite tricks with picmonkey has become using their “eye brighten” function to actually brighten a whole image. You’ll be amazed!
Two final notes on making images:
–  don’t forget to put your logo or some kind of watermark on EVERY. SINGLE. PHOTO. It isn’t going to keep people from stealing them, but it is a deterrent.
– When you save your photos include your key words for SEO in the title.

5. Creating Branded Imagery

When it comes to choosing photos and then making your pinnable image, you need to be consistent. You want to develop a look and feel that fits your blog and that people will recognize as yours in numerous formats and post after post.

This means the images you take or choose should share some similarities. Are you going to go bright and bold or muted and dreamy?  Do you want to use lots of people or do you want to primarily stick to objects and scenery?   Overall, it’s just about being consistent.

This applies to fonts as well. Pick a handful of fonts that you will use and stick with them.  Typically, you won’t want to use more than two of your selected fonts on any one image and you’ll want them to compliment each other. There are TONS of examples of font pairing on Pinterest, so go do a quick search and find what works. If you’ve ever worked with a graphic designer on your site, you can also go to them and have them help you pick your fonts. If they designed your site, they probably already have certain ones in use and they can give those to you along with a few more to create your font identity.

Three Very Different Examples of Pinterest Branding:

If you want what I feel is one of the BEST examples of blog branding via Pinterest available then go check out Living Well Spending Less.

I’ve also heard quite a few parenting bloggers who don’t do food or crafts, but just write general parenting pieces that think there stuff won’t do well on Pinterest. I disagree and you can check out the Reformed Idealist Mom for a little case study in how to do it successfully!

For another parenting comparison you can take a look at our blog board, Sunshine and Hurricanes. We’ve grown to over 13K followers in just a little over a year, and some of our most popular pins are general parenting.

6. Photo Descriptions and Uploading Photos to Your Blog

Now that you’ve got an amazing Pinnable image, you’re ready to put it into your post. This is the point when you need to think about what you want the pin description to be. Each pin on Pinterest has an area for a description. Sometimes you’ll see nothing but the file number of the photo in there or some really brief title.
Pinterest functions like a search engine, so key words are important. You want your description to contain your SEO key word(s) for the post itself as well as a couple more that are highly relevant. Also, make the description compelling. You want it to be 2-4 sentences long and attention
grabbing so people want to actually pin the pin or better yet click on it and go read the post!
So, for example. If I was pinning a post about a Star Wars Lego Activity. My key words might be “Star Wars Lego”, but this could also be relevant to someone interested in anything lego or planning a Star Wars Birthday. Therefore, my pin description could be as follows:
Do you have a little Star Wars lego lover in your home? Whether you’re looking for an easy lego activity for a rainy day or something fun to entertain the kiddos at a Star Wars Birthday party, this post has everything you need! 
Now, once you’ve got our pin description, when you upload the photo, be sure you fill in the “Alt” tag with your description. In the photo description simply include the photo title that has your key word(s) for SEO.   The “Alt” tag is often what Pinterest will grab when someone pins a post from your site and chooses the image.  So, this way, when readers are pinning your awesome content, your key word loaded description goes with it making your pins more powerful.
Loading images into your site and using the image title and alt tags for SEO (also is often the description that gets picked up by Pinterest when people pin your images from your page)

7. How to set up your own Pinterest boards

There is a strategy to setting up your boards and your better to start off with it for maximum success. First, you need to create a “Best of (your blog name her)” Board. That should be the first board on your profile page and you should make sure everyone one of your posts in there. When other bloggers want to pin something of yours, this makes it easy for them to find you and your posts.

Next, additional boards should be set-up based on the different subject areas your blog covers.  You want to think about overarching categories as well as categories that might fall under the broader one so that you can put your pins on multiple boards.

For example: You might have an overarching category and pin board of “Kids Activities”, but then you might also have complimentary boards for “Kids Activities for preschoolers”, “Kids Activities for Kindergarners”, “Kids Activities for Elementary Age Children” and so on.. you get the idea.

8. Group Boards

Once you’ve got your own boards set-up, the next thing you want to do is find group boards that are in your areas of focus and see if you can join.  You can find group boards by looking at other bloggers in your focus area and looking at what group boards they belong to. It’s great to start with bloggers you already know, because if they have any group boards of their own they are likely to be happy to add you.

Next, look at any group boards they are a part of that are owned by someone else and message them to see if they will invite you. This is sort of the cold calling of Pinterest. Sometimes it works, sometimes it doesn’t, but nothing ventured, nothing gained.

There are also groups on Facebook for Pinterest group boards. Join those groups and people will often posts group boards that they are accepting new contributors for and you can get added that way.

9. What to Pin, Where and How Often

Straight up, you can ask ten bloggers this question and get ten different answers. However, what will be fairly consistent is that you need to post at a minimum twice a day. This would be during Pinterest’s high traffic times, which are between 7 a.m. and 10 a.m. in the morning and between 7a.m. and 10 p.m. at night.

Michelle and I also tend to pin in the middle of the afternoon, because we have a parenting focused blog and lots of moms like to browse Pinterest on their phones during nap time or while they are sitting in car line.

Traditionally, you want to pin a minimum of ten pins each time you pin. five of yours and five of other people’s.  You will hear other people say that it should be fewer of yours and more of other people’s, but we’ve done well with a one to one ratio.

Also, some people will tell you that you can pin “too much”, but there isn’t any evidence to support this. Michelle and I have days when we’ll easily pin over 100 pins in a day (not all ours, 50/50). Overall, you just don’t want to pin the same pin more than once and max twice in a day and you don’t want to pin your pins one right after the other. Pin one of your pins, pin one of someone else’s than wait a couple of minutes and do it again.

You also want to spread your pins out across your boards, don’t pin to the same board over and over again.  Many group boards have limits on how many pins you can pin in a day and how much time must pass before you can pin the same pin to the same board again (anywhere from two weeks to 3 months). If you violate the board rules, you’ll get kicked off.

People have various ways of tracking their pinning. We suggest a simple excel spreadsheet. Put your boards across the vertical columns and then dates across the top. Record what day and to which board you are pinning your own pins.

10. Pinning Tools (AKA schedulers)

 Now, if pinning two to three times a day and anywhere between 20 and 100 pins sounds way overwhelming to you, I get it and there are tools available to help you.  The most popular are Tailwind, Ahalogy and Viraltag.
There are many bloggers that will tell you that scheduling services don’t do as well as manual pinning and we would be included in that group. However, that doesn’t mean that they don’t work at all and they are certainly a better option than NOT pinning.  Many bloggers are very happy with these services. It’s ultimately a matter of the time you have available and your personal blogging goals.
I know this post is long and filled with TONS of information and yet still leaves many unanswered questions. This is why I called it Pinterest 101. It’s an introduction and something to help get you started.
As I stated earlier, building a successful blog takes time and a lot of hard work, especially considering how saturated the blogging space has become.  Take everything one step at a time, set goals and be willing to make mistakes. You’ll get there and I guarantee investing time in Pinterest will absolutely be worth it in terms of the increase in traffic you’ll see over time.
If you have Pinterest questions, feel free to leave them in the comments and I will do my best to answer them as I can.

Filed Under: Blogging Tagged With: blogging, How to Make Pinterest Pins, Pinterest, Pinterest for Business

About Kira Lewis

Kira Lewis is a mom to a strong and sassy 8 year old girl and a funny, soccer playing teen boy.  Her career has included everything from corporate ladder climbing to teaching yoga. She's settled for now on free-lance writing and blogging where she covers topics like motherhood, parenting, technology, Florida travel and raising tweens and teens.Keep up with her parental musings by subscribing to sunshine and hurricane's weekly newsletter HERE.

You can also find her on social media:

Facebook / Instagram / Twitter / Pinterest 

« Florida Family Travel Cocoa Beach
STEAM Gift Guide for Kids – Educational Gift Ideas »

Leave a Reply Cancel reply

Your email address will not be published. Required fields are marked *

  • Facebook
  • Google+
  • Instagram
  • Pinterest
  • RSS
  • Twitter
Hi There! We’re Michelle and Kira, two Florida moms who know that parenting is full of sunshine and hurricanes. So glad you are here. >>>LEARN MORE


Pinterest

Follow Sunshine and Hurricanes Best of S&H on Pinterest.

INSTAGRAM

Truth • • • #truth #parentingtips #parenting Truth
•
•
•
#truth #parentingtips #parentingkids #momlife
One & the same ☕️ (via @fowllanguagecomics )
•
•
•
#momhumor #funnymom #raisingkids #littleones #lovemykids #momlife
Never doubt that (via @michelle.merenda ) • • Never doubt that (via @michelle.merenda )
•
•
•
#parentingkids #parentingteens #raisinglittleones #momsofinstagram #momlife
We all had a playroom growing up...it was called o We all had a playroom growing up...it was called outside
*
*
*
#momhumor #parentingwithpurpose #raisingkids
Ever wonder what to say when your child is feeling Ever wonder what to say when your child is feeling left out?  A few years ago, I watched from my park bench as a young mother tried to console her sobbing daughter. “I’m sorry, honey. I don’t blame you for being upset.”  “I don’t know why they won’t let me be in their group for the talent show. They just said they already had enough people and their routine was done and there wasn’t anything they could do about it. I told them I would make a new one up, but they wouldn’t do it.”  I tried to focus on my kindle while occasionally looking for my kids to exit the school door. But as much as I tried not to eavesdrop, I had to admit I was interested to hear how the mom would handle this all-too-common situation of a child feeling left out.  “Well, they’re probably just jealous of you honey, because you are such a good gymnast and they aren’t. They probably don’t want you in their group because you’ll show them up,” the mom stated matter-of-factly. “You should do a solo routine. Or maybe one with Chloe.”  “You think?” the girl replied, her tears slowing down. “You think they’re just jealous of my tumbling?”  “Totally.”  Several minutes passed before my girls came out, but the interaction between the mother and daughter stuck with me for a lot longer.  Maybe the girls were jealous, or maybe they honestly had their routine finished.  To continue reading check the link in bio.
Repeat after me! * * * #momsofinstagram #parenting Repeat after me!
*
*
*
#momsofinstagram #parentingkids #raisingkids #momsofinstagram
Where did all of our money go?? * * * #momhumor #r Where did all of our money go??
*
*
*
#momhumor #raisingkids #funnymom #momofinstagram #momsofinstagram #momlife
Instagram post 17870490628965807 Instagram post 17870490628965807
This is an awesome way to keep track of height * * This is an awesome way to keep track of height
*
*
*
#cleverparents #parentingwithpurpose #momlife #momsofinstagram
Follow on Instagram

Copyright © 2022 · PRIVACY POLICY · Website by Moritz Fine Designs LLC

Copyright © 2022 · Tasteful Theme on Genesis Framework · WordPress · Log in

  • 17